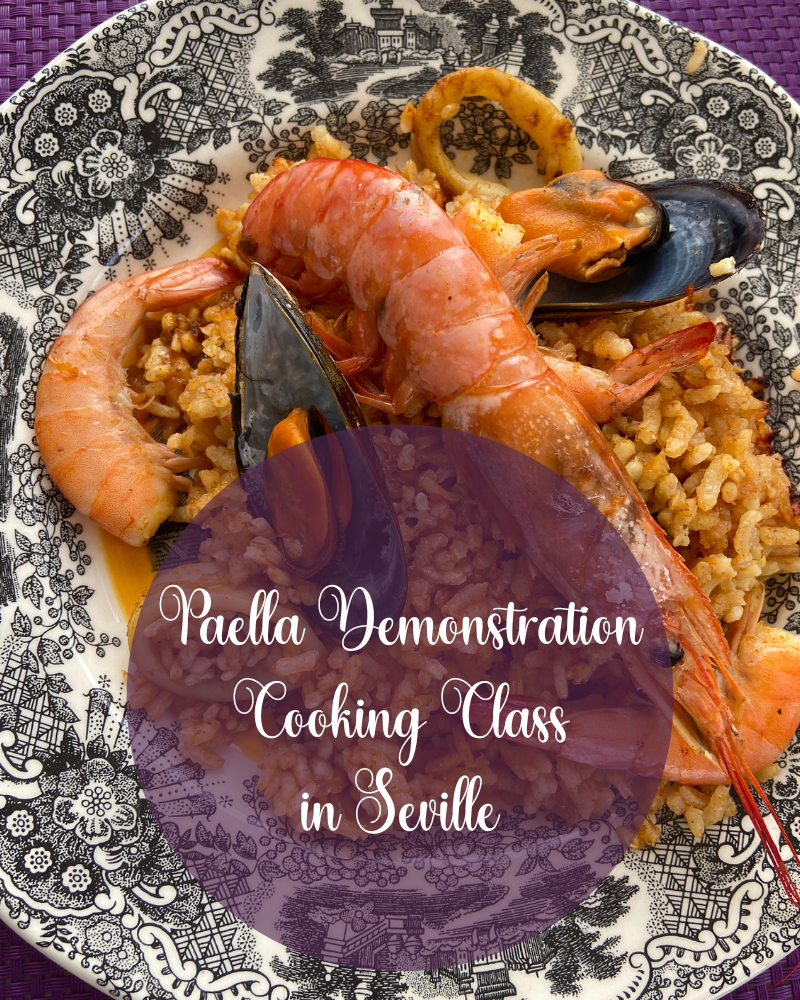
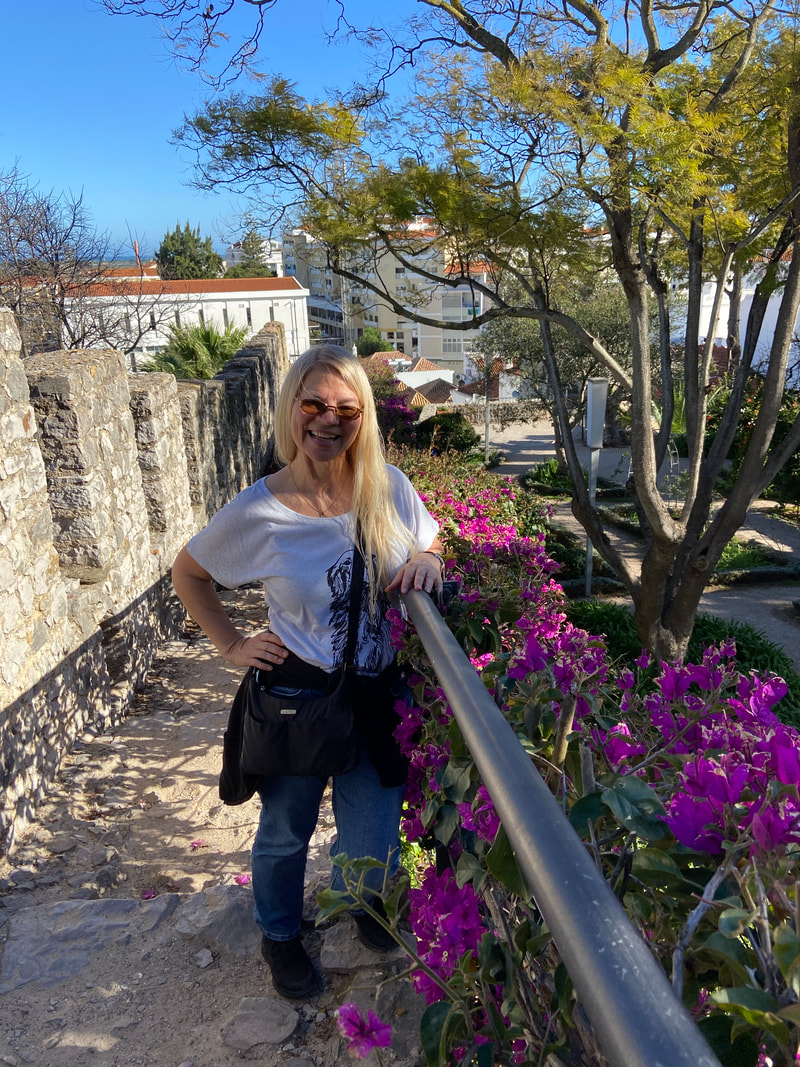
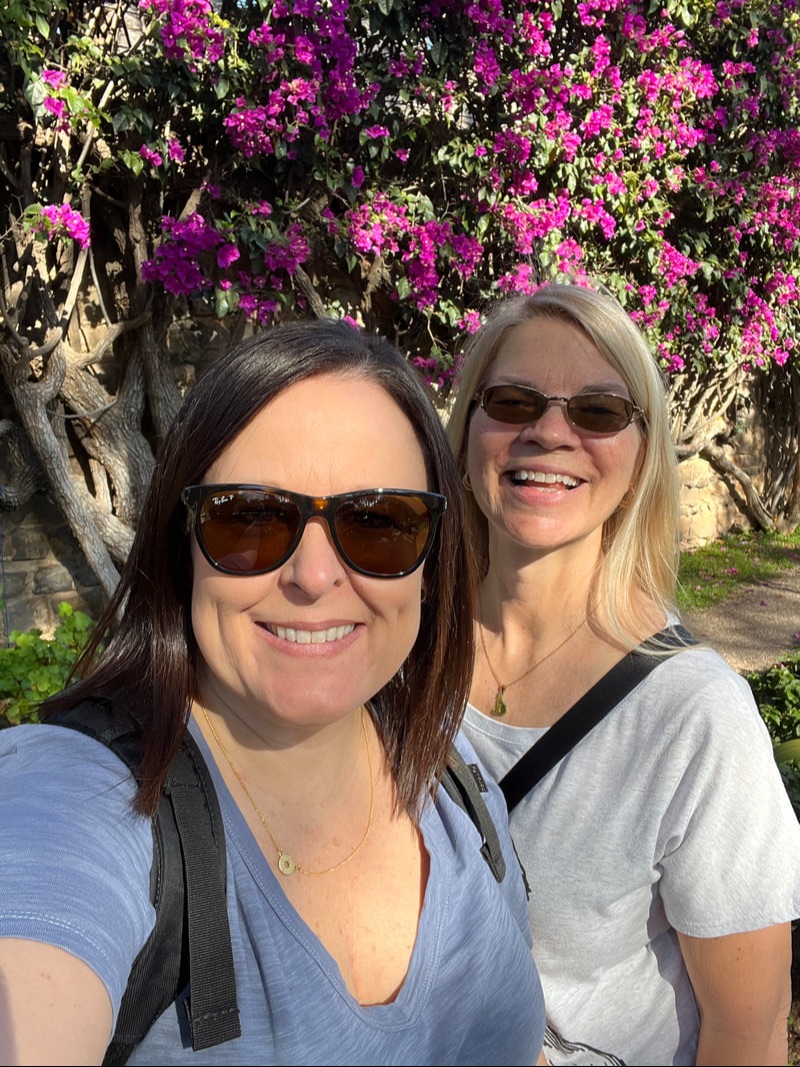
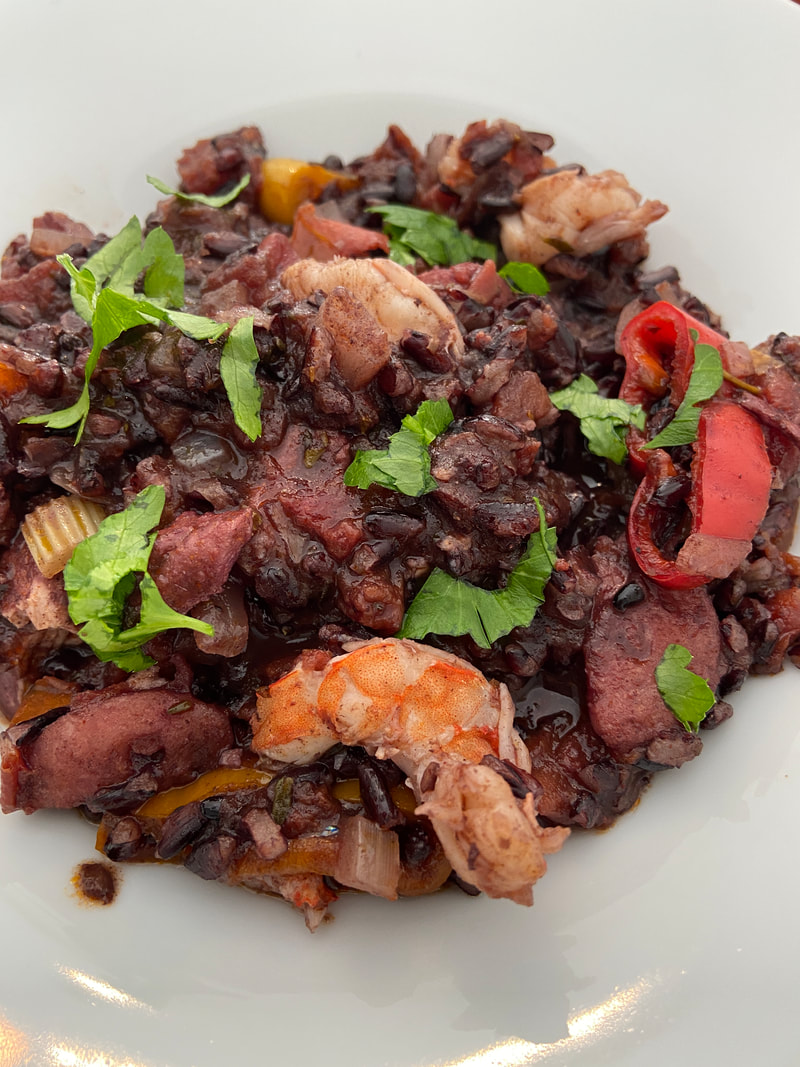
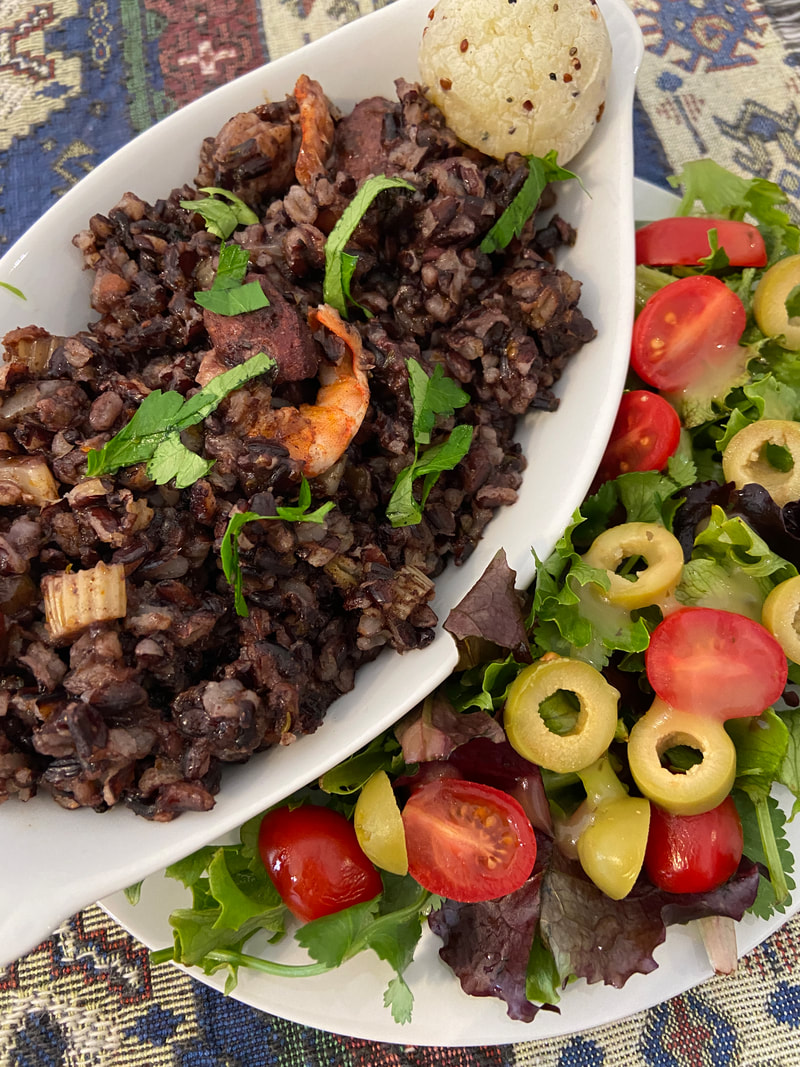
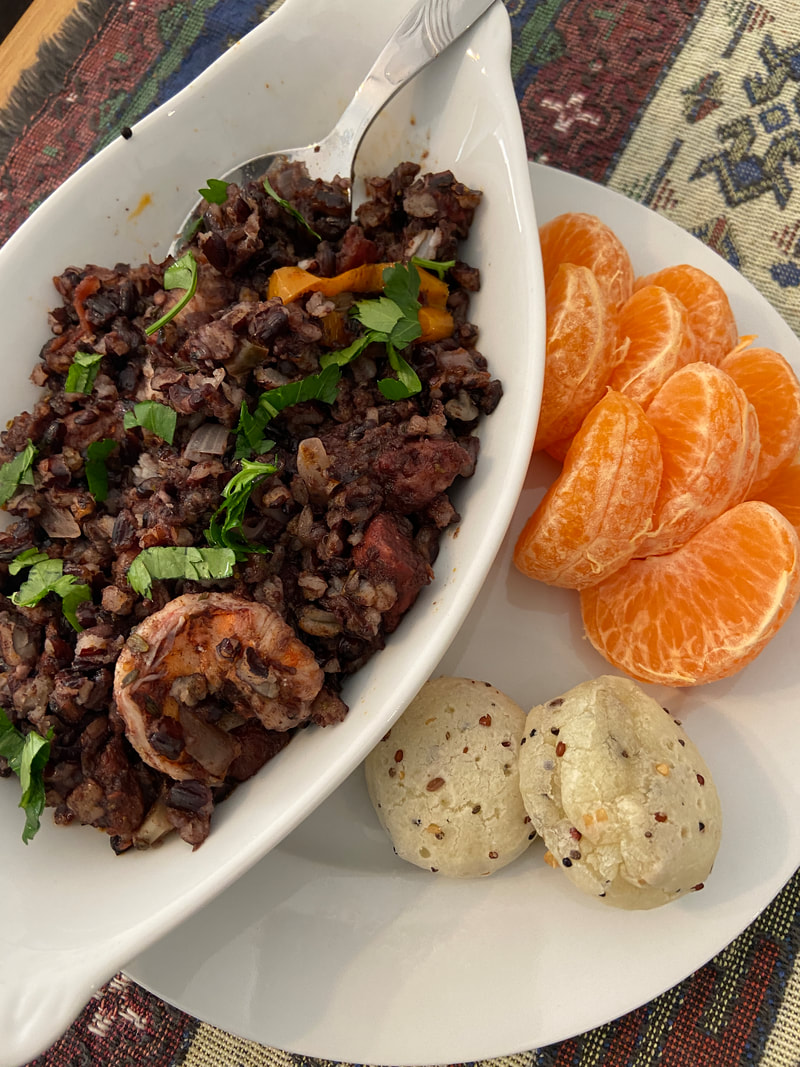
Learning to make traditional recipes with a local chef is a great “souvenir” to take home from your vacation. So while we were in Seville, my friend Christie and I took a demonstration class on how to make seafood paella.
**This post contains affiliate links. When you purchase from my links, I receive a small commission at no extra cost to you. It helps to keep this blog running and it very much appreciated.**
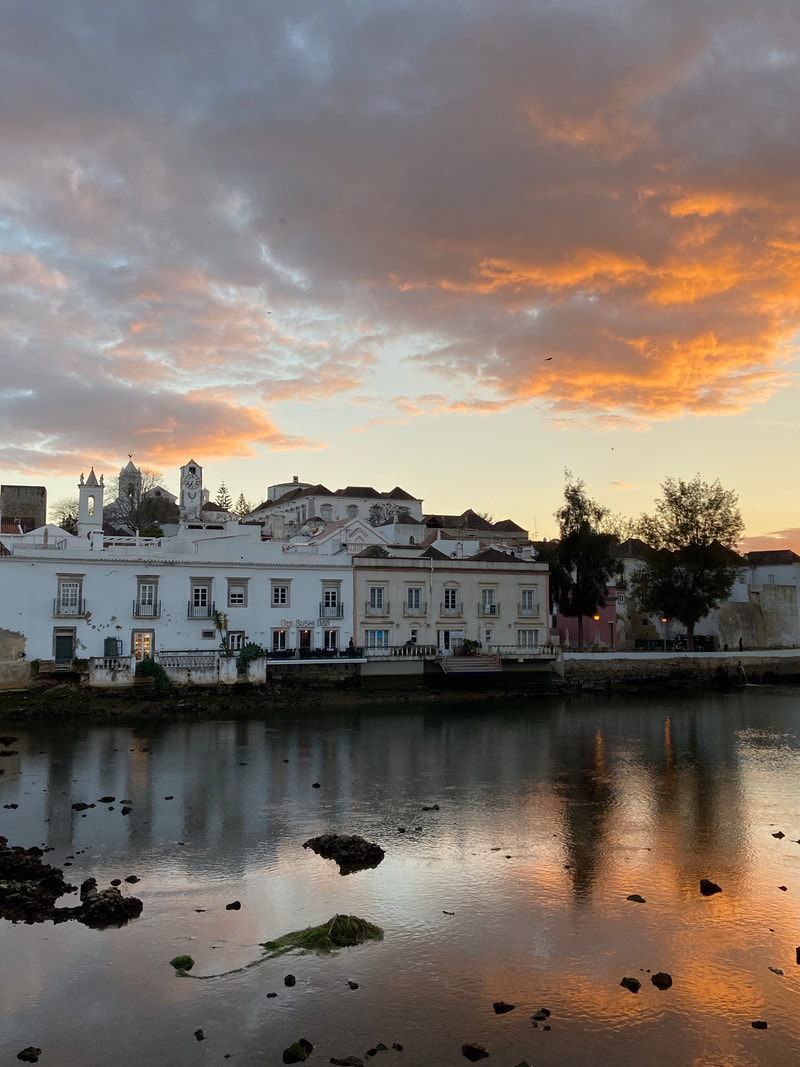
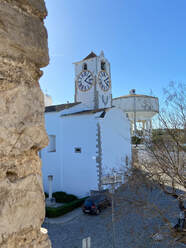
We decided on a demonstration class from Local Food Experience. It was located near to Torre de Oro and had good views of the city.

Check out the video below of our Paella Demonstration class. Below the video is a link to download the recipe. I've also included some recommended products at the end of the post.
 |  |
| Recommended Products |
|
|
|
|
Recipe (right click to download to your computer)
| paella_recipe_-_la_terraza_del_cristina__dragged_.pdf |

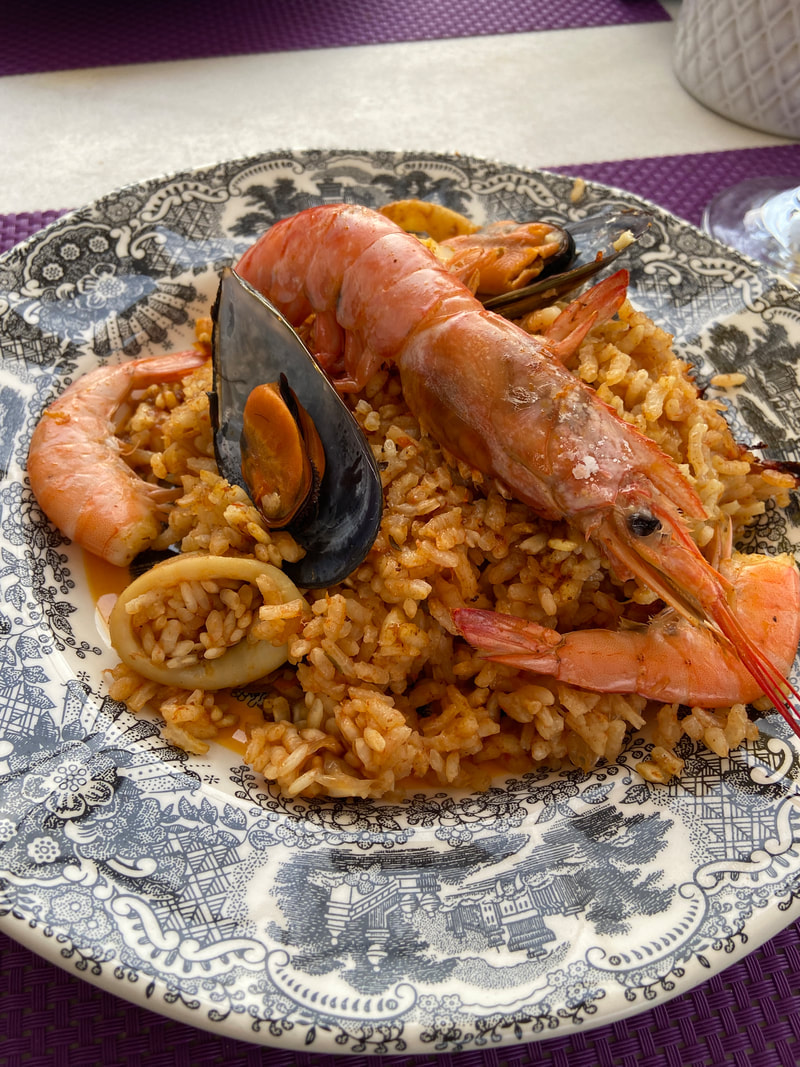
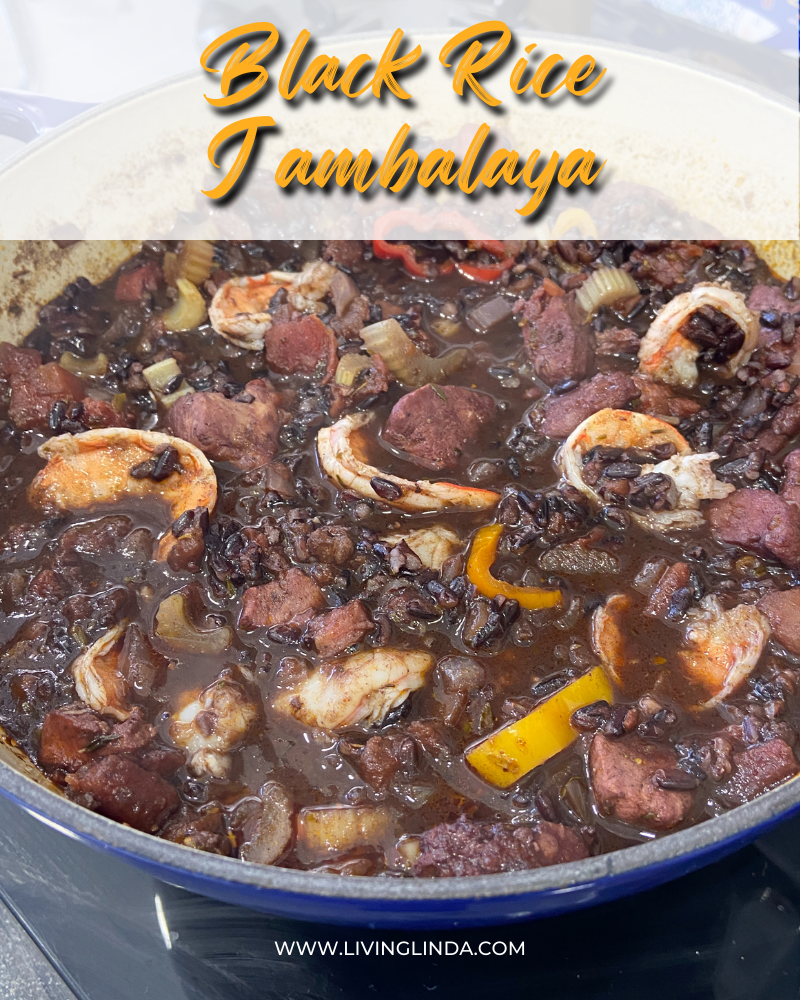
It was a fabulous experience and the seafood paella was excellent! Have you made paella or taken a paella cooking class? Let me know your experience in the comments.


 RSS Feed