LivingLinda.com
  • Blog
  • About
    • Disclosure
    • Privacy Policy
  • Travel
    • Africa
    • Asia
    • Caribbean
    • Cruising
    • Europe
    • Latin America >
      • Costa Rica
    • North America >
      • Canada
      • United States >
        • Arizona
        • California
        • Colorado
        • Florida
        • Georgia
        • Hawaii
        • Maryland
        • Montana
        • National Parks & Monuments
        • Nevada
        • New Mexico
        • Virginia
        • Washington
        • Washington DC
  • Moving to/Living in Portugal
  • Caturday
    • Caturday 2026
    • Caturday 2025
    • Caturday 2024
    • Caturday 2023
    • Caturday 2022
  • Pet/House Sitting
  • Recipes
  • Shop
    • Art Gallery
    • Photography
    • Christmas Cards
    • Coloring Club Yearly Membership
    • Massage Therapy
    • Books >
      • Coloring Books
      • Cookbooks
      • National Pancake Day Sale
      • Massage >
        • Prosperous Massage Practice
  • Contact

Black Rice Jambalaya

3/10/2023

0 Comments

 
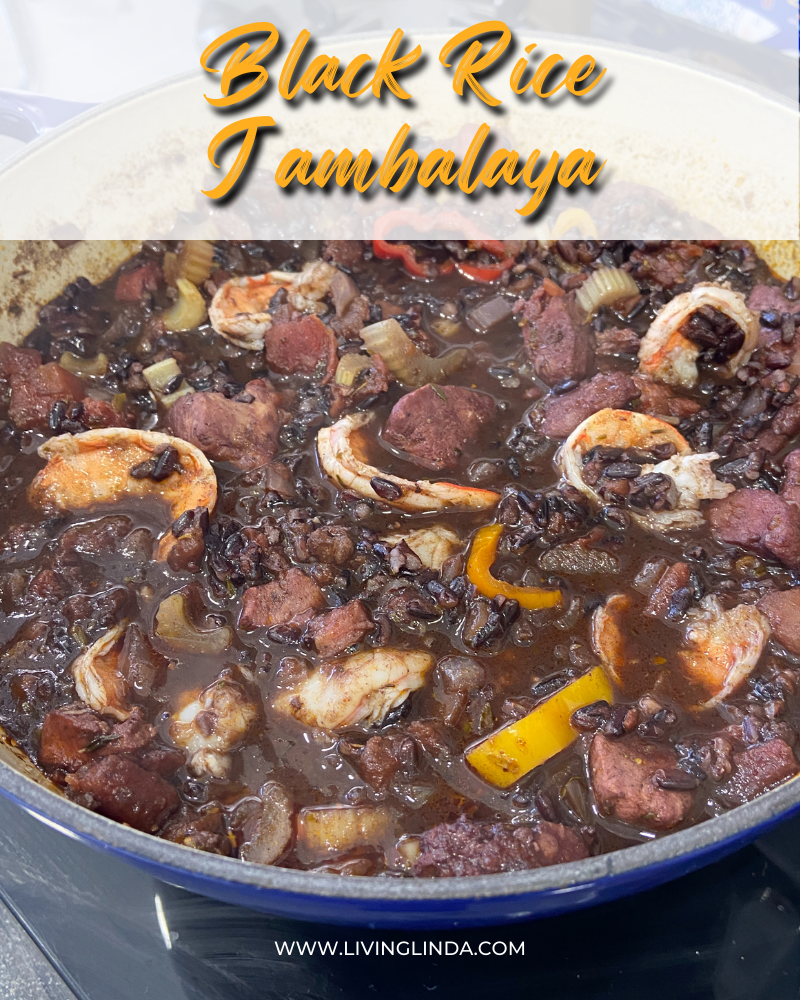
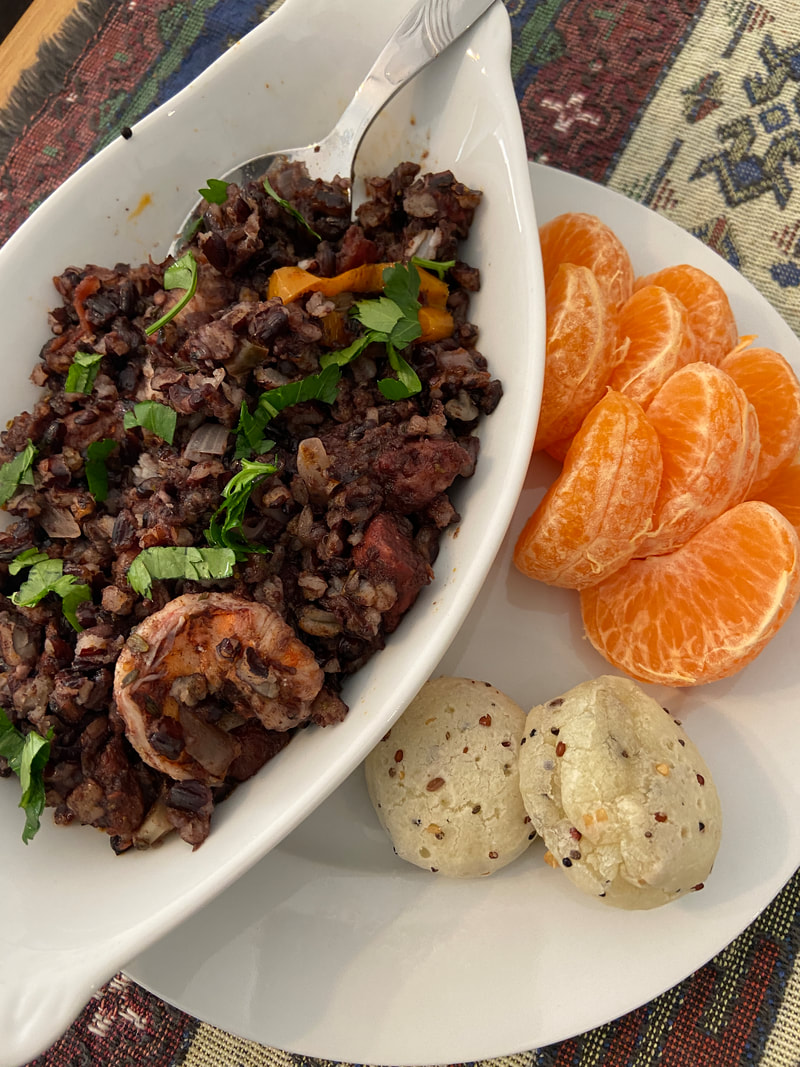
Chicken, sausage, shrimp and veggies nestle in black rice is an easy one pot meal.  Perfect for busy weeknight dinners. 
Picture
**This post may contain affiliate links. I receive a small amount of compensation when you purchase from my links which help to keep this blog running.**
There are two types of jambalaya. This one is a red one, Creole style, which uses tomatoes. The other type is a brown jambalaya, Cajun style, without the tomatoes. The Louisiana origins of this dish can be traced to attempts by Spanish settlers to make paella. They didn't have saffron there, so they substituted tomatoes. Gradually, regional spices and flavors were incorporated into the new world version of this delicious rice dish that we know today.
Jambalaya is traditionally made with the long-grain rice, but I decided to try making it with black rice.  Black rice, also known as purple rice or forbidden rice, especially high in nutrients, like fiber and antioxidants, compared to other types of rice.  
Black Rice Jambalaya
Yields approximately 8 servings

​Ingredients:
2 Tablespoons Olive Oil
1 chicken breast
1 pound sausages of your choice, sliced into wedges
1 pound (500 g) raw shrimp/prawns tails off, peeled and deveined*
3 ribs celery, diced small
1 small red bell pepper, seeded and diced
​1 small yellow bell pepper, seeded and diced
4 cloves garlic, minced
1 can crushed tomatoes
2 cloves garlic minced
1 teaspoon cayenne pepper
1 teaspoon dried oregano (or 1 Tablespoon fresh, chopped)
1 teaspoon dried thyme
2 tablespoons chopped fresh parsley, plus more for garnish
1 teaspoon smoked paprika
​1 teaspoon salt
1 teaspoon freshly ground black pepper
1 cup black rice
2 cups shrimp stock* (you can also use beef or chicken stock)

*Take shrimp heads/tails and place in pan with 2 1/2 cups of water, bring to a boil.  Turn off heat and let sit for 30-60 minutes to use for shrimp stock.
Directions:
Place a Dutch Oven over medium heat. Add the olive oil and heat. 

Add the sausage and cook until it sizzles and curls. Next, add celery, peppers and onions and cook until golden brown.

Add the chicken, stir and cook for another 10 minutes.

Then add the shrimp stock and bring to a simmer.

Add the fresh herbs and salt, black pepper, garlic and cayenne pepper.

Add the rice, bring to simmer, cover, reduce the heat to low and cook until the rice is soft, about 30 minutes.  Add shrimp about 5 minutes before finished.

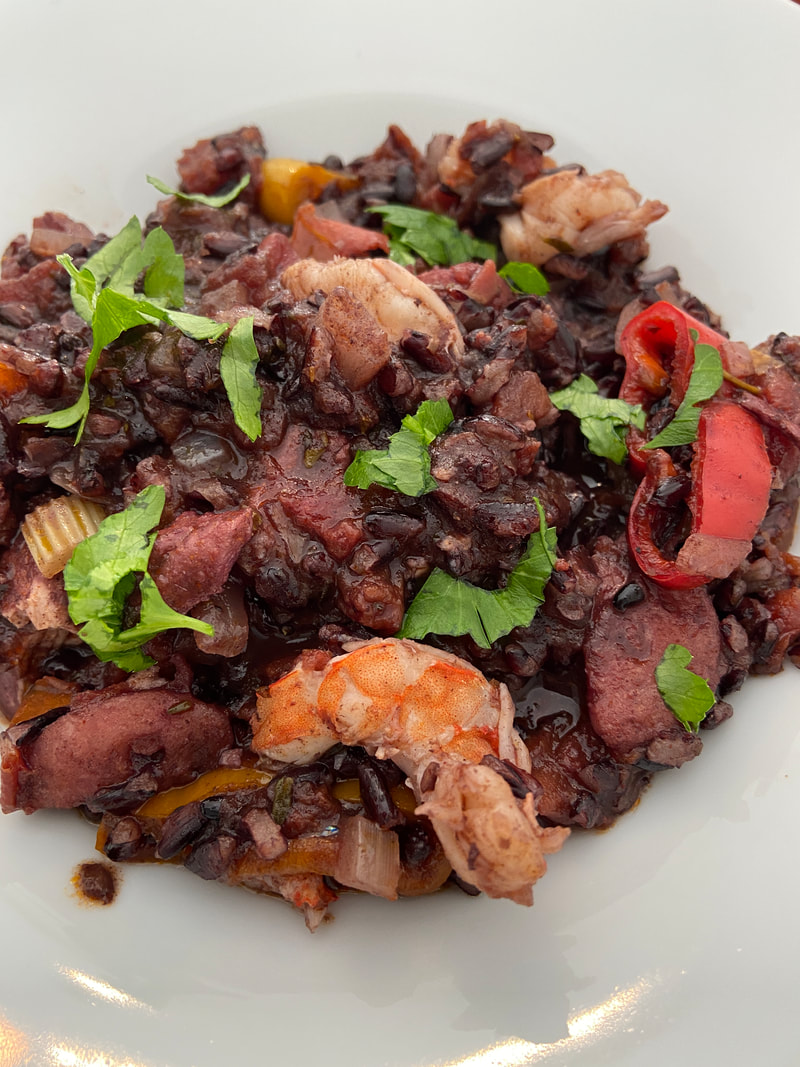
Top with fresh chopped parsley. 
Picture
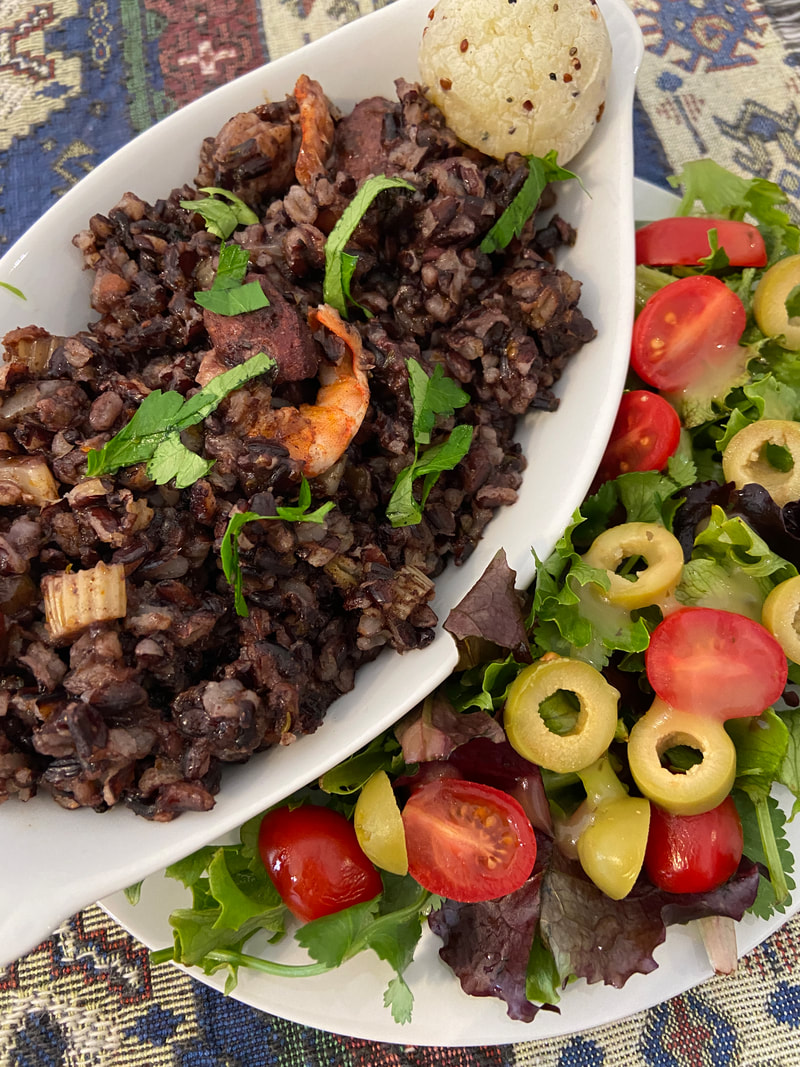
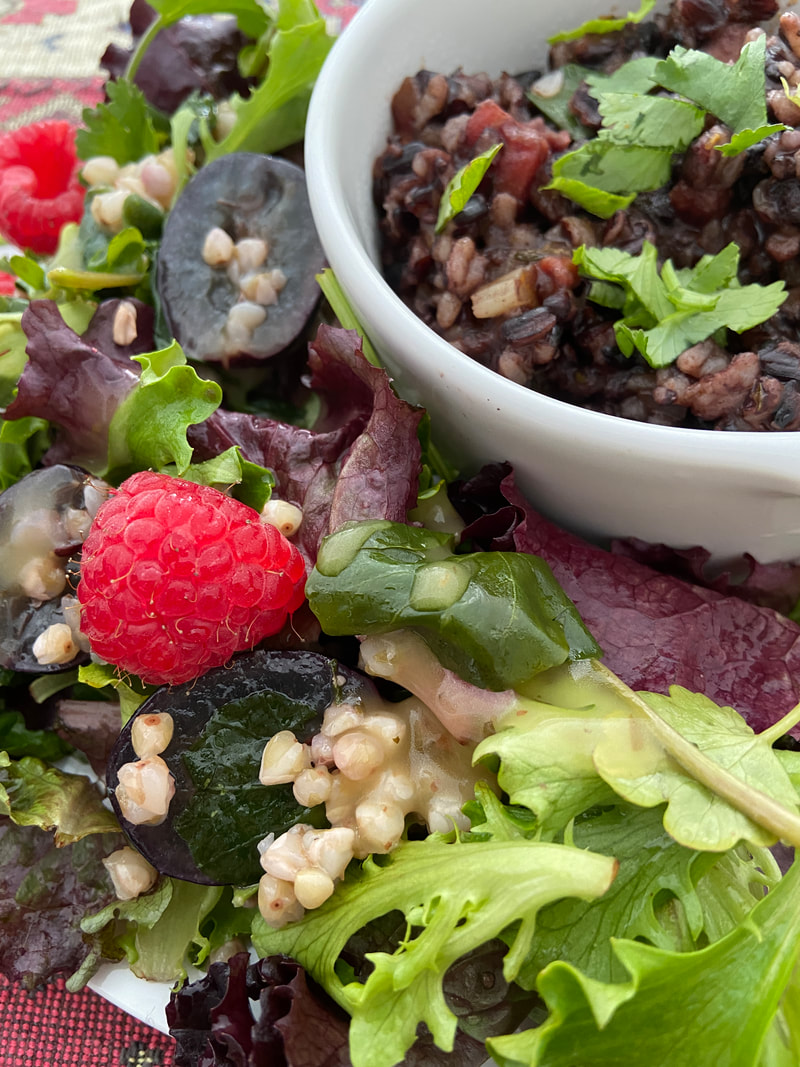
This is a hearty meal, so I would suggest serving by itself or with salad or fruit.
Picture
Picture
Picture
Recommended Posts
Picture
Picture
Picture
0 Comments

Baked Chicken Cordon Bleu

2/28/2023

3 Comments

 
This recipe for Baked Chicken Cordon Bleu is easy enough for a weeknight, but special enough to serve to guests.
Picture
**This post may contain affiliate links. I receive a small amount of compensation when you purchase from my links which help to keep this blog running.**
Cordon Bleu is a French dish of some type of meat (in this case chicken) wrapped around ham or prosciutto and cheese.  It is then breaded and pan fried or deep fried.

I’ve had both Chicken and Veal Cordon Bleu in restaurants but always thought it was too complicated to cook....that is until I saw Nagi’s post a few days ago for Easy Chicken Cordon Bleu over at RecipeTin Eats.  Her recipe sounded so good that I bookmarked it on my computer to give it a try.  

Yesterday, I was looking through my bookmarked files looking for something else, and saw Nagi’s recipe again.  I had already defrosted a package of organic chicken breasts and I new I had gluten free panko in my pantry.

I checked the list of ingredients and I had pretty much everything except her recipe calls for mayonnaise.  I just ran out of mayo the other day and forgot to pick up some when I went to the grocery store over the weekend.

I opened my refrigerator and looked ... hoping to find inspiration for a substitute.  Then I spied Greek yogurt.  I use plain yogurt as a substitute for mayo and sour cream in other dishes, so I thought “why not”.

Also, her recipe uses fresh thyme, but I decided to use a dried French Thyme from Penzey’s that I have.  It smells absolutely amazing.  If you have a Pensey’s near you, I highly recommend going there and buying some of their spices.  If you don’t have one near your, they’re also on-line.

The classic version calls for you to flatten the chicken breasts, layer the ham and cheese and then roll it up and secure with toothpicks.  But Nagi’s version (and now mine) asks you to cut (carefully, mind you) a pocket in the chicken breasts and then tuck the ham and cheese inside (you may still need to secure with toothpicks depending on how big of a pocket you were able to cut and how much cheese and ham you stuffed into it).

They are topped with a mustard-yogurt mixture and gluten free panko crumbs and baked to golden perfection.  It is served with  a creamy Parmesan-Dijon sauce.

Well, all I can say is I am so HAPPY that I tried it.  This easier chicken cordon bleu is just as satisfying and healthier (because it is baked instead of fried and don’t forget the yogurt instead of mayo) as the original without all the fuss of pounding, rolling and tooth-picking. 

The chicken was super moist (even with substituting yogurt for the may) and the taste with the ham and melty gooeyness of the cheese was out of this world.

Honestly, the hardest part of this recipe is whisking the sauce together while the chicken bakes.  I had a problem getting my sauce to thicken so I had to had a bit more butter and flour.

One last note before I tell you the recipe.  It takes about 30 minutes to bake, but this dish could easily be a weeknight meal with some preparation ahead of time (see Notes for all the details.)

NOTES; Make Ahead Instructions:  Assemble the chicken, ham and cheese according to the recipe. Place prepared chicken in covered baking dish or storage container.  Store the prepared yogurt-mustard mixture and gluten free panko bread crumbs in separate covered containers 

When ready to bake, slather chicken with yogurt-mustard mixture and  panko and bake according to the recipe.  You may need to bake an extra 5-15 minutes since it was refrigerated prior to baking. 

You can make the sauce while the casserole bakes or make it ahead of time and store covered in the refrigerator.  Reheat sauce over low heat whisking to recombine before serving.
​Baked Chicken Cordon Bleu
Lightly adapted from Easy Chicken Cordon Bleu from Recipe Tin Eats
Yields:  2-4 servings

Ingredients:
2 chicken breasts
4 slices swiss cheese 
2 to 4 slices of ham, depending on size of ham slice (I used uncured ham)
3 Tablespoons 2% plain Greek Yogurt (I used Fage brand)
1 Tablespoon Dijon mustard
1/2 Kosher teaspoon salt 
1/4 teaspoon fresh ground pepper
1/2 cup gluten free panko breadcrumbs
1 teaspoon dried thyme (or 1 Tablespoon fresh thyme)
1 clove garlic, peeled and finely minced
2 Tablespoons unsalted butter, melted
Oil spray
​
Parmesan-Dijon Cream Sauce (makes about 1 cup)
3 Tablespoons butter
3 Tablespoons gluten free flour
1 cup whole milk
2 Tablespoons Dijon mustard
1/3 cup parmesan cheese, finely grated
2-3 cloves garlic, minced
1 teaspoon fresh thyme
Salt and pepper, to taste
Picture
Directions:
Preheat oven to 350°F (176°C)
Using a sharp knife, CAREFULLY create a pocket in each chicken breast.
Fold cheese and ham in half.  Layer cheese, ham cheese inside each pocket.  Close the pocket and transfer to parchment lined baking sheet.
In a medium bowl, mix the yogurt, mustard, garlic, salt and pepper. Spread mixture onto tops and sides of the chicken.
In another bowl, mix the panko, thyme, garlic, salt, pepper, and melted butter. 
Sprinkle panko mixture over the chicken.  Use your other hand to press breadcrumbs onto the top and sides of the chicken.
Spray with oil then bake for 25 to 30 minutes, or until golden brown.
​Rest for 5 minutes before serving with the Dijon-Thyme Cream Sauce.


​Parmesan-Dijon Cream Sauce
In a small frying pan or sauce pan, melt butter over medium heat. Add gluten free flour and cook for 1-2 minutes.

Add half the milk and whisk until the flour is blended, about 1 minute.
Add remaining milk, mustard, garlic and cheese. Continue cooking for 3-4 minutes, whisking constantly, until sauce is thickened. 
Remove from heat, stir in thyme.  Add salt and pepper, to taste. 

Picture
I served it with stacked potatoes.
Recommended Posts
Picture
Picture
3 Comments

Bangers and Mash

2/22/2023

0 Comments

 
Nothing says comfort food like Bangers & Mash, a traditional Irish and British dish of sausages served with mashed potatoes and onion gravy.  Perfect for St. Patrick's Day, Sunday Family Dinners or anytime you need a warm food hug.
Picture
**This post may contain affiliate links. I receive a small amount of compensation when you purchase from my links which help to keep this blog running.**
“Bangers and Mash” is British slang for sausages and creamy mashed potatoes. “Bangers” refers to the sausages – named as such because back then, sausages would burst open “with a bang!” when cooked unless you pricked with a fork. 
Bangers and Mash
Yields 4 servings

​Ingredients:
For the Bangers & Gravy
1/2 tbsp oil
8 sausages of choice
1 large onion, halved and finely sliced (yellow, white or brown) 
2 garlic cloves, minced
3 Tbsp gluten free flour
2 cups beef stock/broth, low sodium, store bought or homemade 
1/4 tsp salt
1/2 tsp black pepper

For the Mashed Potatoes
3 lb. Russet potatoes, peeled and cut into 1” cubes 
1 Tbsp salt, for cooking
4 Tbsp unsalted butter, chopped
1/2 cup milk, warmed
1/2 tsp salt
melted butter, for garnish (optional)
Chives or parsley, chopped, for garnish (optional)

Need St. Patrick's Day Gifts for Yourself or Others?
Check out these designs in my RedBubble store.  Designs are available on a variety of products.  Click on the photo or title of the item to be taken to the page to purchase.
Shenanigan Enthusiast
St. Patrick's Day Apron
Three Leaf Clover Travel Mug
St. Patrick's Day Socks
Picture
Picture
Picture
Picture
Directions:
For the Bangers & Gravy
Cook sausages: Heat oil in a large skillet / fry pan over medium high heat. Add sausages and cook, turning, until browned as much as possible all over and cooked through. Cook time will differ depending on sausage size.

Remove sausages onto a plate. Turn heat down to medium.

You need around 2 Tbsp oil left in the skillet. If you have less, add a bit of butter or oil.

Add onion and garlic, cook until golden brown, around 4 minutes.

Add flour and mix through. Cook for 2 minutes, stirring constantly.

Add about 3/4 cup of beef broth and mix into the onion so it becomes a sludge. Then add remaining beef broth and mix until combined. If it's lumpy, use a whisk to help make it smooth.

Simmer, stirring, for 2 to 3 minutes until the gravy thickens but is slightly thinner than you want as it will thicken as cools.
​
​Add salt and pepper to taste.

For the Mashed Potatoes
Place in a large pot with 1 Tbsp salt. Add enough water so it’s 4” above the potatoes.

Bring to a boil over high heat then reduce heat so it’s simmering rapidly. Cook 15 minutes or until potatoes are very soft (poke with fork to test, they should fall apart).

Drain well, return into pot. Leave for 1 minute, shaking pot every now and then, to allow water to completely evaporate.

​Add butter, milk, and salt and mash well with masher.

Note:  DO NOT use a beater, stick blender, food processor or blender as potatoes will quickly go from perfect to hard and gluey.

Top with melted butter. Sprinkle with chives or parsley.
Picture
Serve sausages with side of peas on the side.

Low carb option – replace mashed potatoes with Creamy Cauliflower Mash.

​
Picture
0 Comments

Marcona Almond and Parmesan Crusted Salmon

2/10/2023

0 Comments

 
Marcona Almond and Parmesan Crusted Salmon, is a simple oven baked salmon recipe to serve anytime and is ready in under 30 minutes!  Makes busy weeknight dinners, not only easy but healthy.
Picture
**This post may contain affiliate links. I receive a small amount of compensation when you purchase from my links which help to keep this blog running.**
Marcona Almond and Parmesan Crusted Salmon
Yields 2 servings

Ingredients:
2 salmon steaks
Salt and freshly ground black pepper
1 Tablespoons melted butter
1 Tablespoons stone-ground mustard
1/4 cup plain Greek yogurt
1/4 cup chopped Marcona almonds*
1/4 cup gluten free panko bread crumbs**
1/4 cup parmesan cheese
1 Tablespoon chopped chives (or 1 teaspoon dried)
1 Tablespoon chopped flat-leaf parsley plus more for garnish​

Notes:
*Marcona almonds can be substituted for regular almonds or another nut.
**For a Keto option, substitute gluten free panko bread crumbs for Keto bread crumbs.
Directions:
Preheat oven to 350°F. Line a baking sheet with parchment paper.

Season salmon with salt and pepper and place on a baking sheet. 

Combine melted butter, stone-ground mustard, yogurt and Marcona almonds in a bowl. 

In a separate bowl combine bread crumbs, parmesan cheese, chopped chives and parsley.   Season with salt and pepper. 

Spread yogurt mixture over top of fish then evenly coat fish with the bread crumb mixture. 

Bake for 15 to 20 minutes depending on thickness of fish.
Picture
I served it with roasted purple cauliflower with pine nuts, golden raisins and balsamic drizzle. and cloud bread.
Picture
Picture
0 Comments

Kangaroo Steak with Balsamic Cherries

1/22/2023

0 Comments

 
Love steak, but want something leaner?  Try kangaroo steak, the venison of Australia.  Perfectly cooked kangaroo steak drizzled with balsamic glaze with cherries served on a bed of roasted vegetables and side salad.
Picture
​**This post may contain affiliate links. I receive a small amount of compensation when you purchase from my links which help to keep this blog running.**
Kangaroo Steaks are a new food I tried 2022.  I saw them in my local Lidl and said, "why not?"  I liked to try new foods.
Kangaroo meat is a very healthy source of protein. Kangaroo is a ultra lean meat with less than 2% fat, making it a healthier red meat option. It is also high in protein, essential B vitamins, minerals such as zinc, iron and omega 3 fats and omega 6 fatty acids. It also contains a compound called conjugated linoleic acid, which actively reduces blood pressure.

Kangaroo is a gamey meat, and some even prefer it to lamb and steak for its tenderness and taste.

​It tends to be a stronger flavor than beef or lamb.  
Picture
Kangaroo Steak with Balsamic Cherries

Ingredients:
kangaroo steaks, at room temperature
olive oil
butter
pepper and salt 

For the balsamic cherries
1/2 cup balsamic vinegar
1 Tablespoon Keto sugar (I used monk fruit sweetener) or regular sugar.
1/4 cup water
1/2 cup cherries, pitted and coarsely chopped
pinch coarse Kosher salt
Directions:
Prepare the balsamic cherries first.  In a small saucepan, combine balsamic vinegar, sugar, cherries and water. Bring to a low simmer.

Simmer for 20-30 minutes, stirring occasionally to prevent burning.

​When sauce has reduced, remove from heat and stir in a pinch of coarse Kosher salt.

Sauce won’t be the texture of syrup yet- it will still be a little runny, that is normal.
Set aside to cool and thicken.

(NOTE:  More than likely you'll have some balsamic cherries leftover.  Store them in airtight container in refrigerator for up to one week.  Perfect to top on salmon or lamb!)

For the kangaroo steaks:
Before cooking the kangaroo steaks, pat dry with paper towel.

Rub the steaks with a little bit of olive oil. Salt and pepper each side.

Add kangaroo steak(s) to a medium frying pan over medium high heat. Cook for 4 minutes then turn them around and cook for another 4 minutes. If you like your meat to be rare, cook these steaks for about 6-7 minutes total.

Add a little bit of butter in the last 3 to 4 minutes of cooking.

Remove the steaks from the pan and let them rest for 2 minutes.  

Serve with roasted vegetables and salad (as pictured).
Picture
 
0 Comments
<<Previous

    Linda Roisum

    Traveller, chief taste-tester and food finder and retired expat living in Lisbon, Portugal.

    Archives

    January 2026
    December 2025
    November 2025
    October 2025
    September 2025
    August 2025
    July 2025
    June 2025
    May 2025
    April 2025
    March 2025
    February 2025
    January 2025
    December 2024
    November 2024
    October 2024
    September 2024
    August 2024
    July 2024
    June 2024
    May 2024
    April 2024
    March 2024
    February 2024
    January 2024
    December 2023
    November 2023
    October 2023
    September 2023
    August 2023
    July 2023
    June 2023
    May 2023
    April 2023
    March 2023
    February 2023
    January 2023
    December 2022
    November 2022
    October 2022
    September 2022
    August 2022
    July 2022
    June 2022
    May 2022
    April 2022
    March 2022
    February 2022
    December 2021
    November 2021
    September 2021
    May 2021
    September 2020
    April 2020
    March 2020
    February 2020
    January 2020
    November 2019
    February 2019
    November 2018
    July 2018
    April 2018
    December 2017
    May 2017
    April 2017
    December 2016
    April 2016
    March 2016
    February 2016
    December 2015
    November 2015
    October 2015
    September 2015
    August 2015
    April 2015
    January 2015
    July 2014
    June 2014
    March 2014
    February 2013
    December 2012
    November 2012
    September 2012
    May 2012
    May 2011
    April 2011
    December 2010
    September 2010
    July 2010
    March 2010
    August 2009
    June 2008

    Categories

    All
    30 Minute Meals
    AirBnb Reviews
    Alaska
    Alicante
    Appetizer Recipes
    Aquariums
    Arizona
    Art
    Art Spotlight
    Austria
    Aveiro
    Barcelona
    Book Reviews
    Braga
    Breakfast Recipes
    Bright Line Eating
    Brighton
    Burgers
    Caldas Da Rainha
    California
    Canada
    Candy
    Caribbean
    Chocolate
    Christmas
    Coimbra
    Colorado
    Condiments
    Cookies
    Cooking For Two
    Costa Rica
    Cost Of Living
    Crock Pot Recipes
    Cruises
    D.C.
    Denali National Park
    Dessert Recipes
    Dips
    Dominica
    Dressings
    Drinks
    Dublin
    England
    Florida
    Food History
    France
    Freebies
    Georgia
    Germany
    Gluten Free Dining
    Grand Cayman
    Hawaii
    Health
    Hiking
    Holidays
    Hong Kong
    Hysterectomy
    Interviews
    Ireland
    Italy
    Juices
    Keto Recipes
    Las Vegas
    Lisbon
    Living Abroad
    London
    Madeira Island
    Madrid
    Main Courses
    Mains
    Malaga
    Marrakech
    Maryland
    Menopause
    Monthly Recap
    Morocco
    Moving To Portugal
    MSC Orchestra
    Museums
    Naples
    National Parks
    Nevada
    New Mexico
    Night Sweats
    North Carolina
    Ocean City
    One Pot Meals
    Paris
    Pies
    Portugal
    Poultry Recipes
    Red Meat Recipes
    Restaurant Reviews
    Round-Ups
    Salad
    Salamanca
    Salsa & Guacamole
    San Diego
    Sandwiches
    Savannah
    Seafood Recipes
    Self Care
    Seville
    Side Dishes
    Sintra
    Slow Travel
    Smoothies
    Snacks
    Soups & Stews
    Spain
    St. Lucia
    Street Art
    Tea
    The Algarve
    Tomar
    Vegan
    Vegetarian
    Venice
    Vienna
    Virginia
    Warm-drinks
    Washington
    What I Ate
    Zoo

    Picture

    RSS Feed